
The short answer is yes—attaching a greenhouse to your house is not only possible, it’s one of the most popular ways to build one. An attached greenhouse (often called a lean-to greenhouse) shares a wall with your existing home, which reduces construction costs, simplifies utility connections, and gives you direct indoor access to your growing space.
But “possible” and “straightforward” aren’t the same thing. An attached greenhouse introduces structural, moisture, and permitting considerations that a freestanding greenhouse doesn’t. Here’s what you need to understand before you commit to the project.
How an Attached Greenhouse Works
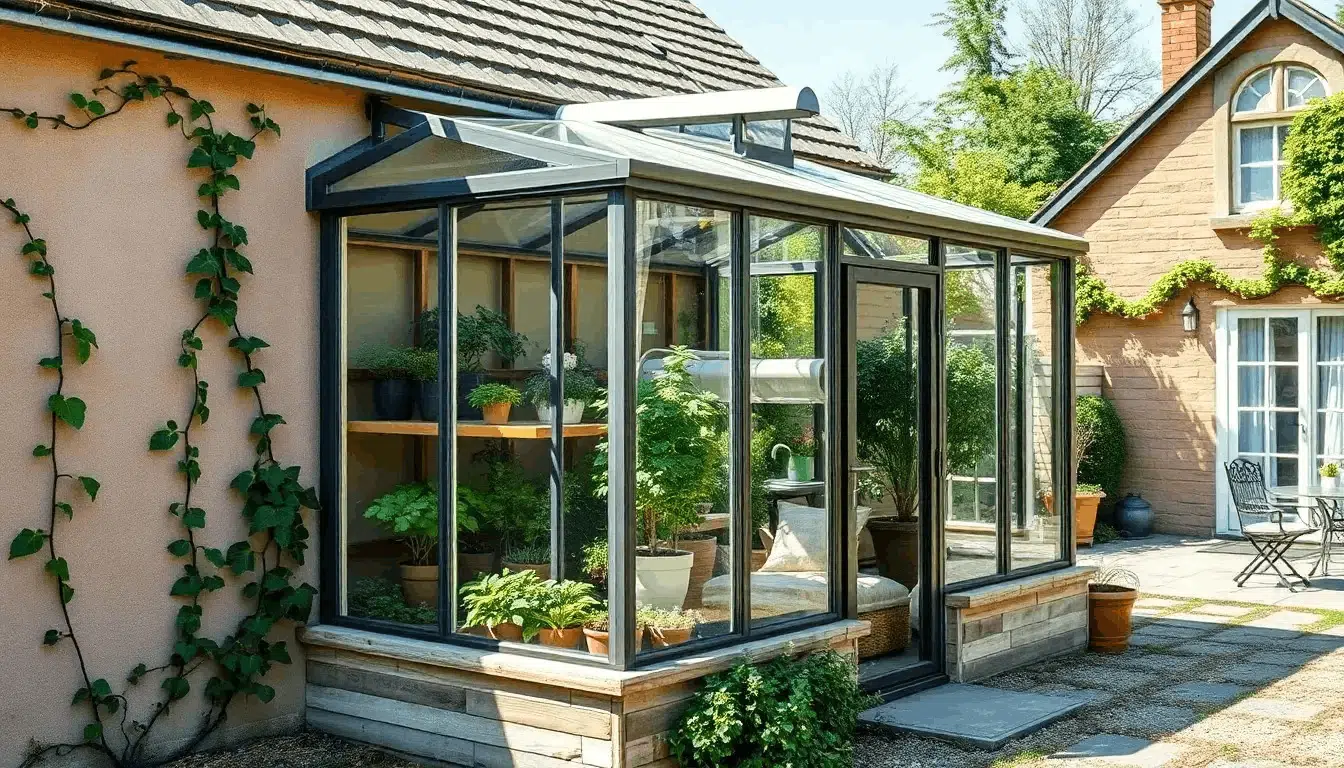
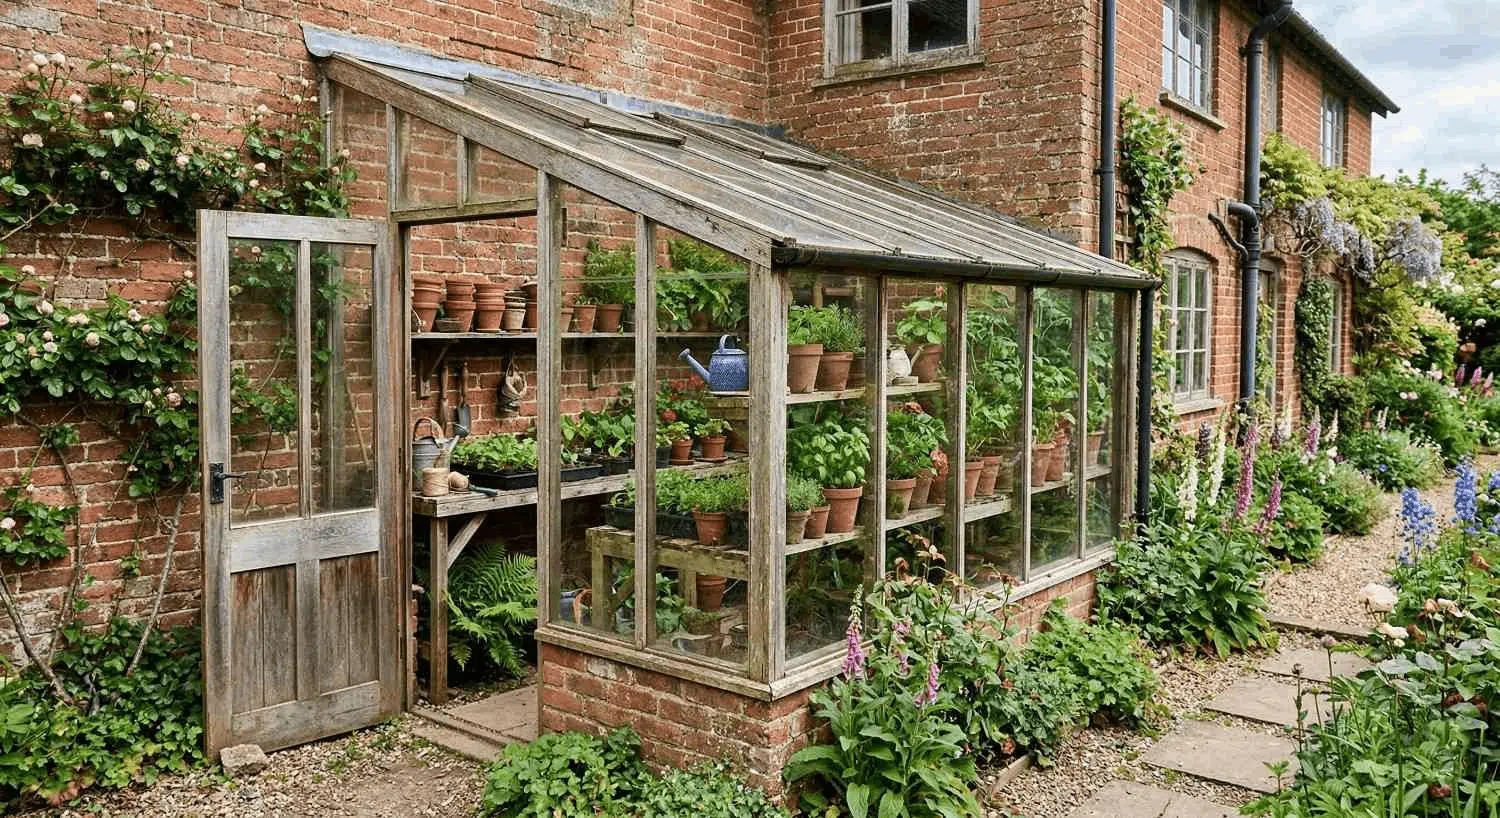
An attached greenhouse is built against an exterior wall of your home, using that wall as its back surface. The remaining three sides are framed and glazed with glass or polycarbonate panels, and the roof slopes away from the house wall—either as a single slope (lean-to style) or with a peaked ridge.
The shared wall serves multiple purposes. It provides structural support, reducing the amount of framing needed. It acts as a thermal mass, absorbing heat during the day and radiating it back into the greenhouse at night. And it creates a direct connection between your living space and your greenhouse, which means you can install a door or pass-through for convenient access without stepping outside.
This shared-wall design is what makes attached greenhouses roughly 20-30% less expensive than freestanding structures of the same size. You’re building three walls instead of four, and you’re tapping into existing electrical, plumbing, and heating infrastructure rather than running everything from scratch.
Structural Requirements for the Shared Wall
Not every exterior wall is suitable for a greenhouse attachment. The wall you choose needs to meet several conditions.
Load-bearing capacity. The greenhouse roof connects to your house wall, transferring both its own weight and any additional loads—wind, snow, and rain—into your home’s structure. The attachment point must be at or near a load-bearing element (a wall stud, header, or ledger board anchored to the framing) rather than simply fastened to exterior cladding. A ledger board bolted through the siding into the wall framing is the standard connection method, similar to how a deck is attached.
Wall material compatibility. Brick, concrete block, wood-framed walls with siding, and stucco all work as attachment surfaces, but each requires a different flashing and sealing approach. The critical concern is waterproofing the junction where the greenhouse roof meets the house wall. This joint is the most common leak point in any attached structure. Proper step flashing or continuous flashing must be installed beneath the siding and over the greenhouse roof to direct water away from the wall cavity.
Moisture management. A greenhouse generates significantly more humidity than a standard room. If that moisture migrates into the shared wall—through gaps in the vapor barrier, inadequate flashing, or condensation running down the interior wall surface—it can cause mold, rot, and insulation damage inside the wall cavity. A vapor barrier on the greenhouse side of the shared wall and adequate ventilation inside the greenhouse are essential safeguards.
Structural assessment. For anything beyond a small, lightweight lean-to, a structural engineer should evaluate whether your wall and foundation can handle the additional load. This assessment typically costs $500-$1,500 and is money well spent—it identifies potential problems before construction begins rather than after.
Foundation Considerations
Your greenhouse needs its own foundation, even though it shares a wall with the house. The foundation type depends on the greenhouse size, local building codes, and your climate zone.
Extending from the existing foundation. If your home has an exposed foundation wall on the attachment side, the greenhouse foundation can sometimes be poured directly adjacent to it. This provides a clean, level connection but requires careful waterproofing at the joint between the two foundations to prevent water infiltration.
Independent slab or footings. In most cases, the greenhouse sits on its own concrete slab or poured footings. In cold climates, these must extend below the frost line—the same requirement as any permanent structure. A typical residential greenhouse foundation runs $1,000-$6,000 depending on size and soil conditions, with frost-depth footings at the higher end.
Gravel base. For smaller, lighter greenhouses in mild climates, a compacted gravel base provides drainage and a level surface at a lower cost. However, gravel bases don’t meet code requirements for permanent structures in most jurisdictions, which limits this option to smaller hobby greenhouses that may not require a building permit.
The key principle: the greenhouse foundation must not compromise your home’s existing foundation. Excavating too close to your house footings, directing water toward the foundation wall, or creating uneven settling conditions can cause problems that extend well beyond the greenhouse itself.
Permits and Building Codes
In most municipalities, attaching a greenhouse to your house requires a building permit. This is true regardless of whether the greenhouse is climate-controlled, because the attachment to the primary structure triggers code requirements that a freestanding garden shed might not.
What codes typically require:
- A foundation that meets local frost-depth and load-bearing standards
- Structural connection details (ledger board specifications, fastener schedules)
- Flashing and waterproofing details at the roof-to-wall junction
- Electrical permits if you’re adding lighting, outlets, or heating
- Plumbing permits if you’re running water to the greenhouse
- Setback compliance—your greenhouse must respect the required distance from property lines, which varies by jurisdiction
Permit costs typically range from $250-$1,500 total across all trades, with processing times of several days to several weeks. Some jurisdictions require a site plan showing the greenhouse footprint and its relationship to property boundaries.
Skipping the permit is risky. Unpermitted attached structures can create problems during home sales—inspectors flag them, appraisers may not count the square footage, and buyers’ lenders may require the structure to be permitted or removed before closing.
Choosing the Right Wall and Orientation
Which wall you attach the greenhouse to determines how much light it receives and how effectively it manages temperature.
South-facing walls are ideal in most climates. A south-facing greenhouse receives direct sunlight throughout the day during winter months when the sun sits low in the sky—exactly when your plants need it most. In summer, the higher sun angle reduces direct overhead exposure, helping prevent overheating.
East-facing walls capture morning sun, which provides gentle warmth early in the day. This orientation works well for plants that prefer moderate light and can be a good choice in hot climates where afternoon sun creates excessive heat.
West-facing walls receive intense afternoon sun, which can cause overheating in warm climates but provides extended warmth in cooler regions. Additional shading is often needed for west-facing greenhouses during summer.
North-facing walls receive the least direct sunlight and are generally the poorest choice for a growing greenhouse. However, a north-facing attachment can still work as a cool-season growing space or a sheltered area for shade-loving plants—it just won’t perform as a year-round food production space.
Climate Control and Ventilation
An attached greenhouse has a built-in advantage: the shared wall radiates heat from your home into the greenhouse, reducing heating costs compared to a freestanding structure. But this connection also means you need to manage the thermal and moisture relationship between the two spaces.
Heating. In mild climates, passive solar gain plus heat from the shared wall may be sufficient. In colder regions, a small electric heater, radiant floor system, or dedicated mini-split unit keeps temperatures stable without overloading your home’s HVAC system. Avoid connecting the greenhouse directly to your home’s heating ducts—the humidity load from a greenhouse can cause condensation problems throughout your duct system.
Ventilation. This is non-negotiable. A greenhouse without adequate airflow will overheat in summer and develop mold and disease problems in humid conditions. Roof vents, exhaust fans, and operable side windows provide the necessary air exchange. Automated vent openers that respond to temperature changes are an affordable and reliable option, typically $30-$75 each.
Humidity control. The shared wall is the vulnerability. A well-ventilated greenhouse with a proper vapor barrier on the shared wall prevents moisture migration into your home. If you plan to grow tropical plants or maintain high humidity levels, a dehumidifier in the greenhouse protects both your plants and your house structure.
Cost Expectations for an Attached Greenhouse
Attached greenhouses benefit from the shared wall, making them roughly 20-30% less expensive than equivalent freestanding structures.
| Size | Basic Lean-To | Mid-Range Glass | High-End Conservatory |
| Small (60-100 sq ft) | $2,000-$6,000 | $8,000-$15,000 | $20,000-$40,000 |
| Medium (100-200 sq ft) | $5,000-$12,000 | $15,000-$30,000 | $40,000-$75,000 |
| Large (200-400 sq ft) | $10,000-$25,000 | $25,000-$50,000 | $60,000-$120,000+ |
These figures include foundation, structure, glazing, and basic climate control. Add $1,500-$4,000 for electrical, $500-$1,500 for permits, and $500-$2,000 for plumbing if you’re adding a water source.
Is an Attached Greenhouse Right for Your Home?
Attaching a greenhouse to your house is a well-established approach that thousands of homeowners have done successfully. The key requirements are a suitable exterior wall, a proper foundation, waterproof flashing at the roof junction, adequate ventilation, and the necessary permits.
The project is more involved than setting up a freestanding greenhouse kit—but the benefits of lower cost, direct indoor access, shared utilities, and passive heating from the house wall make the additional complexity worthwhile for most homeowners.
If you’re considering an attached greenhouse or conservatory and want to understand what your specific home and site would require, the team at Sunshine Rooms can help you evaluate your options. Reach out anytime for guidance on design, orientation, and what to expect from the building process.
Related Posts

We Like to Hear From You!
We service and support the products we manufacture and install. If you need assistance with
our products or those of another sunroom manufacturer, contact us!