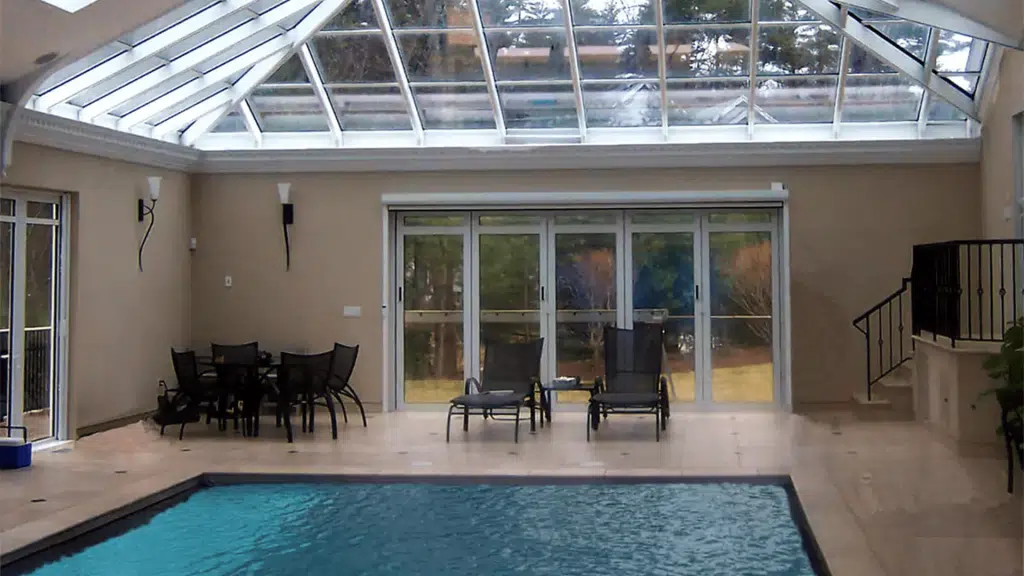
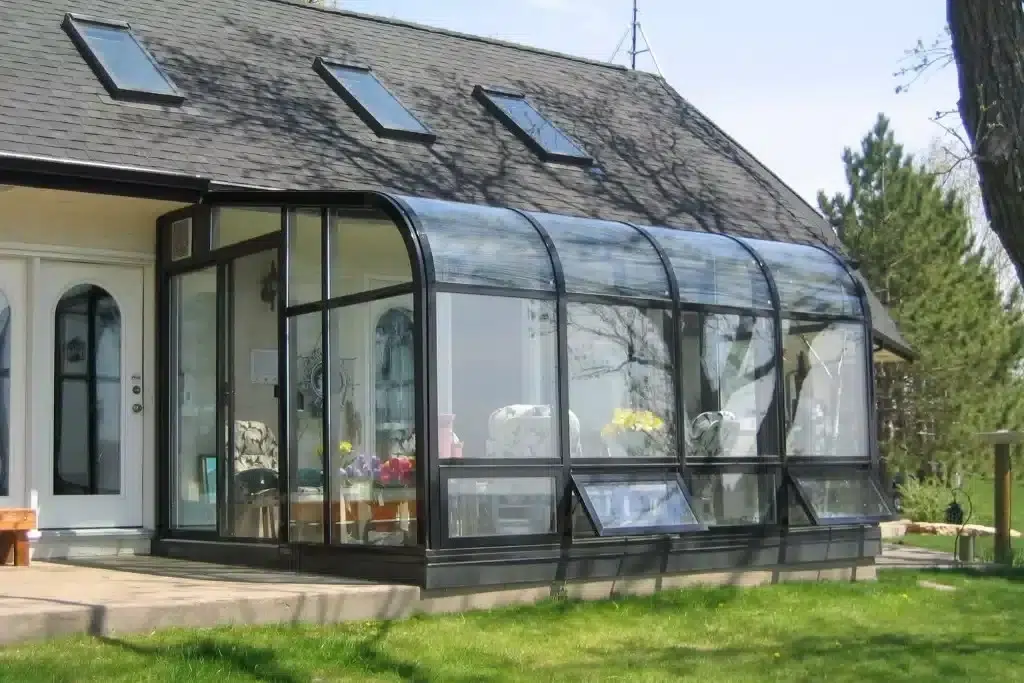
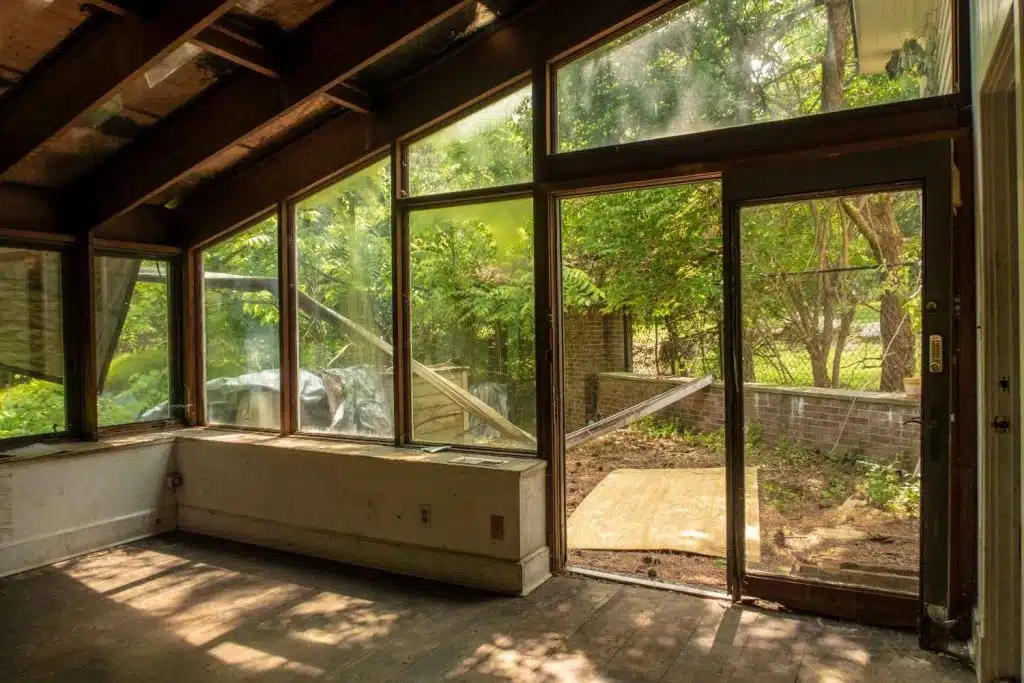
A solarium is one of the most rewarding additions you can make to a home—but it demands more maintenance attention than a standard room. The combination of extensive glass surfaces, daily temperature swings, UV exposure, and moisture creates conditions that accelerate wear on seals, coatings, and structural connections.
The good news? Nearly every expensive solarium repair traces back to a minor maintenance task that was deferred too long. Stay on top of the basics, and your solarium will perform beautifully for decades. Here’s exactly what needs attention and when.
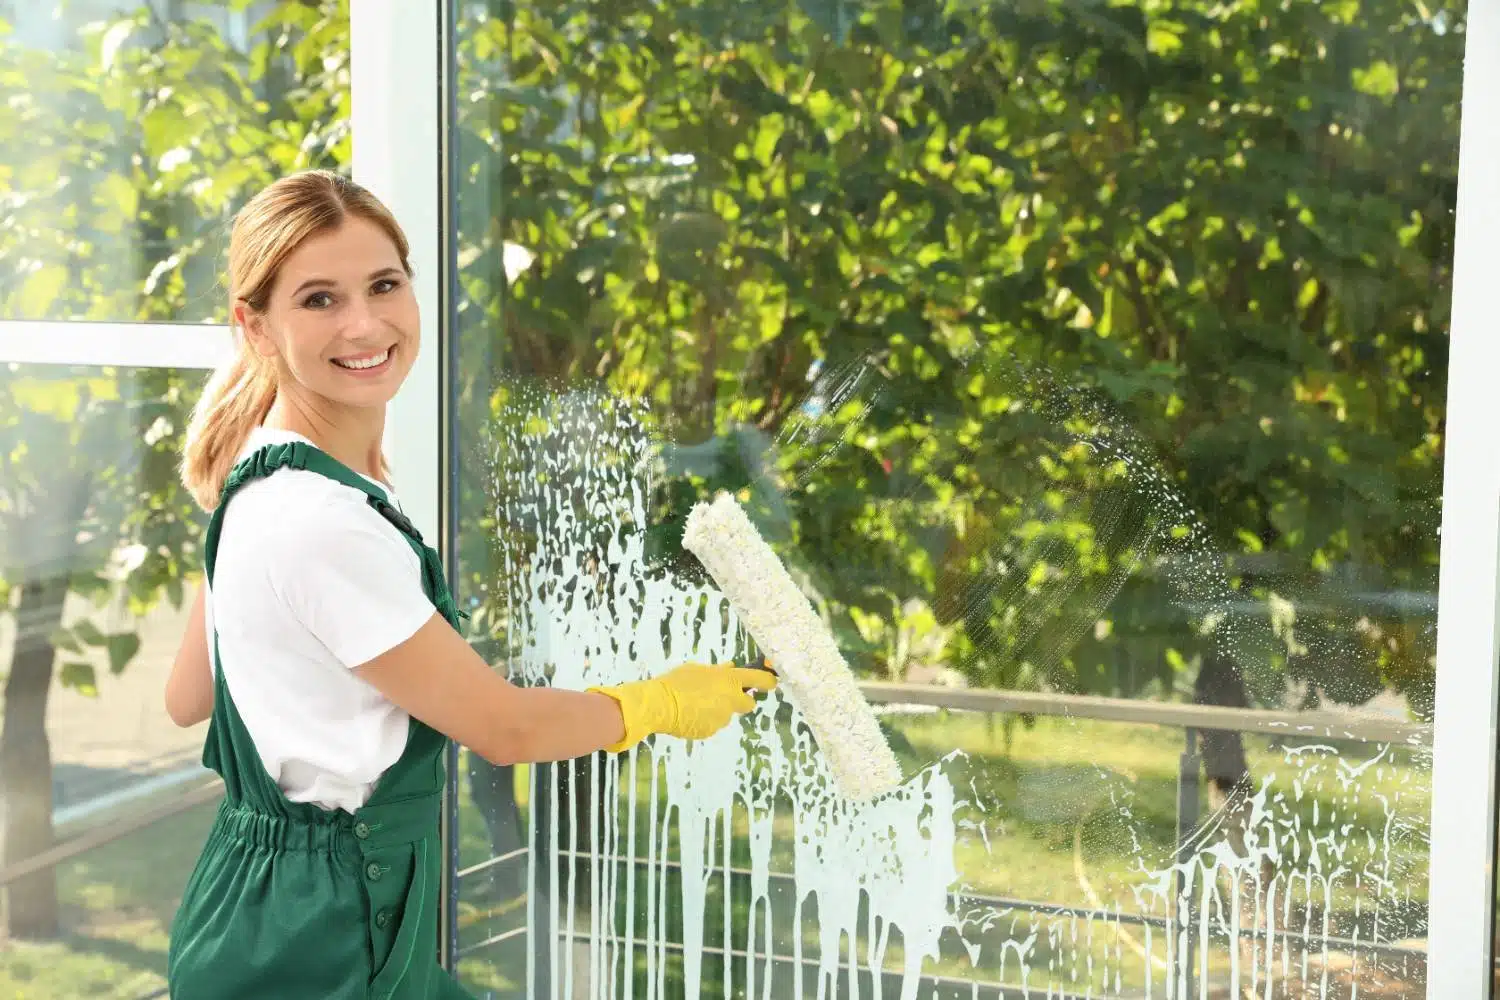
Glass Care — The Foundation of Solarium Maintenance
Your glass is the largest surface area in the room, and it needs more frequent care than standard windows.
Cleaning schedule: Plan on cleaning exterior glass every three to four months at minimum—more often in high-pollen areas, coastal regions, or under heavy tree canopy. Interior glass typically needs attention every three to six months, though solariums with plants or high humidity may need monthly spot-checks for mineral deposits from condensation.
Use the right products. Mild dish soap diluted in warm water or a pH-neutral glass cleaner is all you need. The critical rule: avoid ammonia-based cleaners on Low-E glass. Ammonia reacts with the metallic oxide coating and causes permanent haze that cannot be reversed—the glass must be replaced. Since most modern solariums use Low-E glass, this means common household glass sprays like Windex are off-limits for your coated panels. Also avoid abrasive pads, razor blades, and pressure washers.
Watch for seal failure. Insulated glass units (IGUs) rely on an airtight seal between panes to hold their argon or krypton gas fill in place. When that seal fails, the gas escapes, moist air enters, and you’ll see fogging or haze trapped between the panes that can’t be wiped away. IGU seals typically last 10 to 20 years—but solariums’ higher UV load and greater thermal cycling can push failure toward the shorter end. Don’t ignore early fogging. Energy bills can rise 15-25% as insulating value drops, and mineral deposits inside the unit eventually become permanent. Replacement costs $150-$400 per unit when caught early—far less than a full window replacement later.
Frame and Coating Maintenance
Your frame material determines the maintenance burden.
Aluminum frames (the most common in modern solariums) don’t rust, warp, or rot. Wash them with mild soap and warm water every three to six months using a soft cloth. Inspect screws and connectors for secure fastening every six months. If the powder coating chips, apply touch-up paint promptly—exposed aluminum corrodes faster, especially in coastal or industrial environments. Quality powder coatings on aluminum frames last 25-40+ years with basic upkeep.
Vinyl frames need cleaning on the same schedule. Use mild soap only—never acetone, paint thinner, or abrasive cleaners. Lubricate hardware annually and inspect weep holes (the small drainage channels in the sill) to ensure they’re clear. In high-UV environments, vinyl can yellow and become brittle over time. UV-stabilized vinyl slows this process but doesn’t eliminate it entirely.
Wood frames (less common, found in older conservatories and custom builds) carry the highest maintenance burden. Apply wood preservative or stain annually. If painted, expect to repaint every three to five years. Inspect all wood-to-glass joints for seal integrity after heavy rain—wood movement from moisture cycling is the primary cause of seal failure in wood-framed structures.
Weatherstripping and Seals — The First Line of Defense
Weatherstripping degrades faster in a solarium than around standard windows because of three compounding factors: higher UV exposure, greater temperature swings, and elevated surface temperatures during summer. Standard foam tape designed for interior doors will fail well short of its rated lifespan in this environment.
Inspection: Check all seals twice per year—spring and fall. Look for visible cracks, flattening, loss of flexibility, or gaps when doors and windows are closed. If you feel drafts near closed openings or see daylight around a frame edge, replacement is overdue.
Material choice matters. Silicone-based or EPDM rubber weatherstripping rated for high UV and temperature exposure is the right specification for a solarium. These materials last 10 to 15 years versus 5 to 7 years for standard rubber or foam.
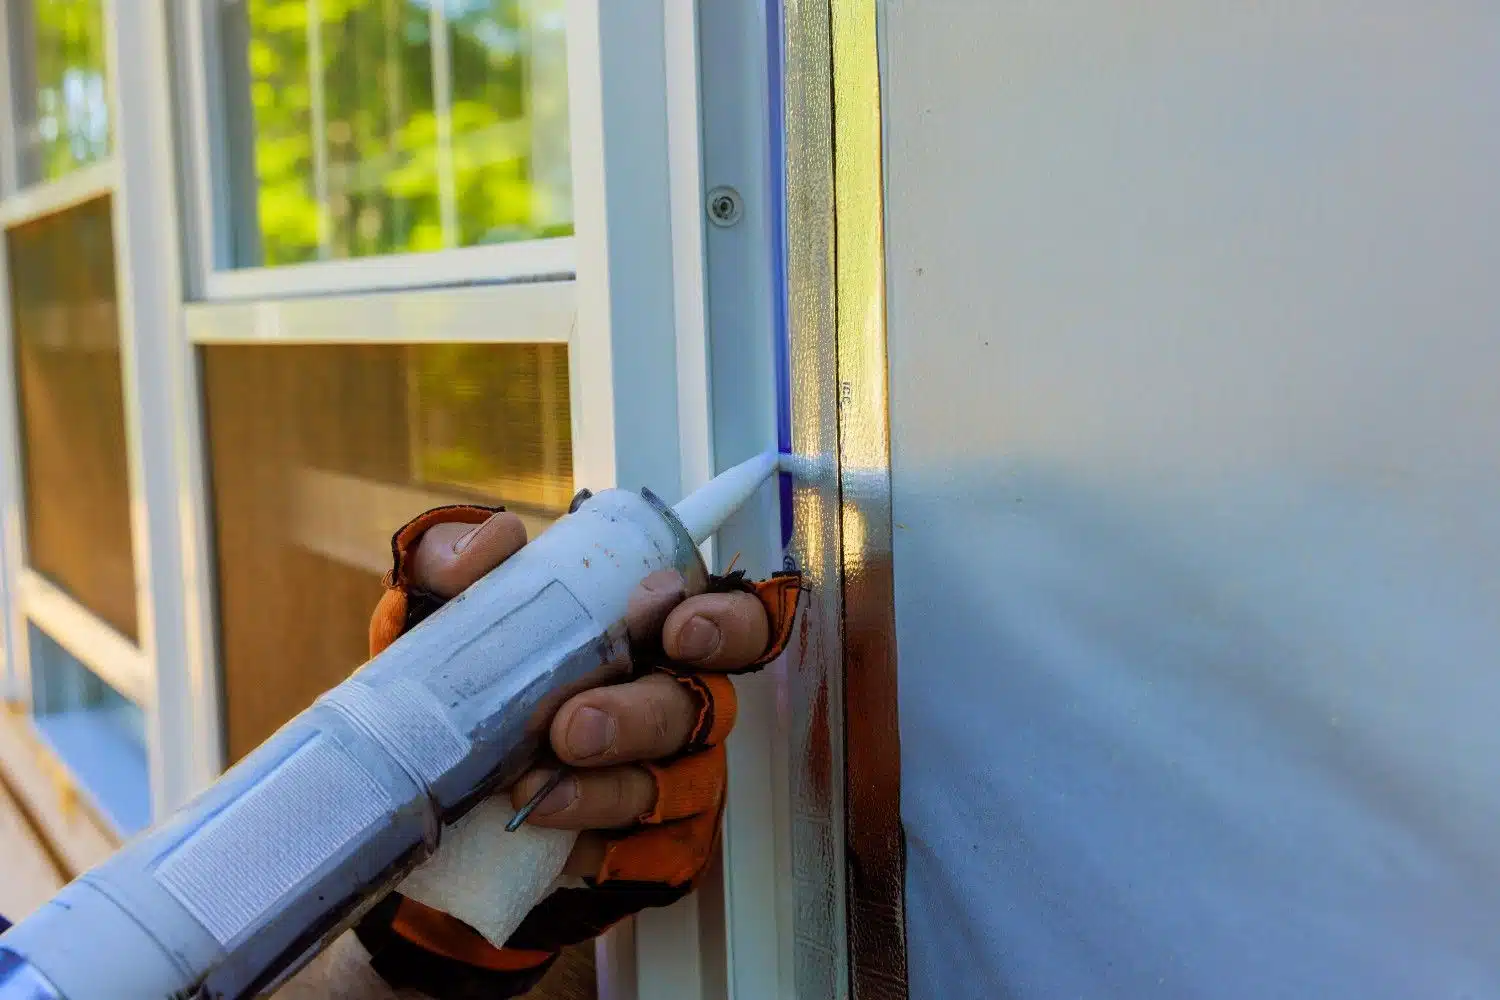
Caulk and sealant around frame joints and glass-to-frame connections should be inspected every two years and re-applied every five to seven years. Small gaps become water pathways that cause frame corrosion, wood rot, and flooring damage over time.
>
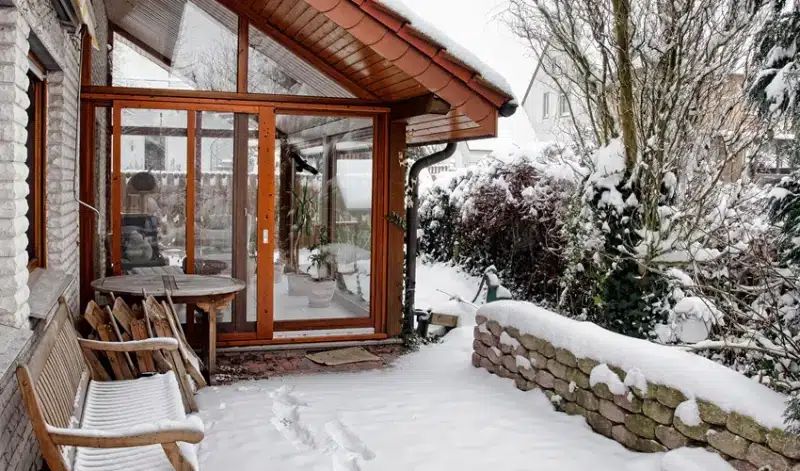
Roof and Drainage — Where Most Damage Starts
The roof-to-wall connection is the most common leak source in a solarium, and gutter maintenance is more critical than on a standard roofline.
Flashing: Inspect the metal flashing where your solarium roof meets the house wall twice per year and after major storms. Look for cracks, corrosion, and separation at seams. The vertical edge of the flashing should extend at least 6 inches up the wall, with the bottom leg overlapping the solarium roof by 8-12 inches. Re-seal any detected gaps with silicone caulk immediately—water intrusion here is often invisible until damage has spread well below the entry point.
Gutters: Solarium gutters are often installed level rather than sloped, meaning water pools instead of draining naturally. This makes debris removal more critical, not less. Clean gutters at minimum twice per year—after leaf fall and again in spring. In freezing climates, heat-trace cables prevent ice damming. Never lean ladders directly against solarium gutters; they’re lighter-gauge than house gutters and deform easily.
Glass roof panels: Remove debris with a soft brush. Never walk on glass roof panels. Inspect glass-to-frame joints and inter-panel seams for sealant cracking twice per year. After hailstorms, check for chips or stress fractures.
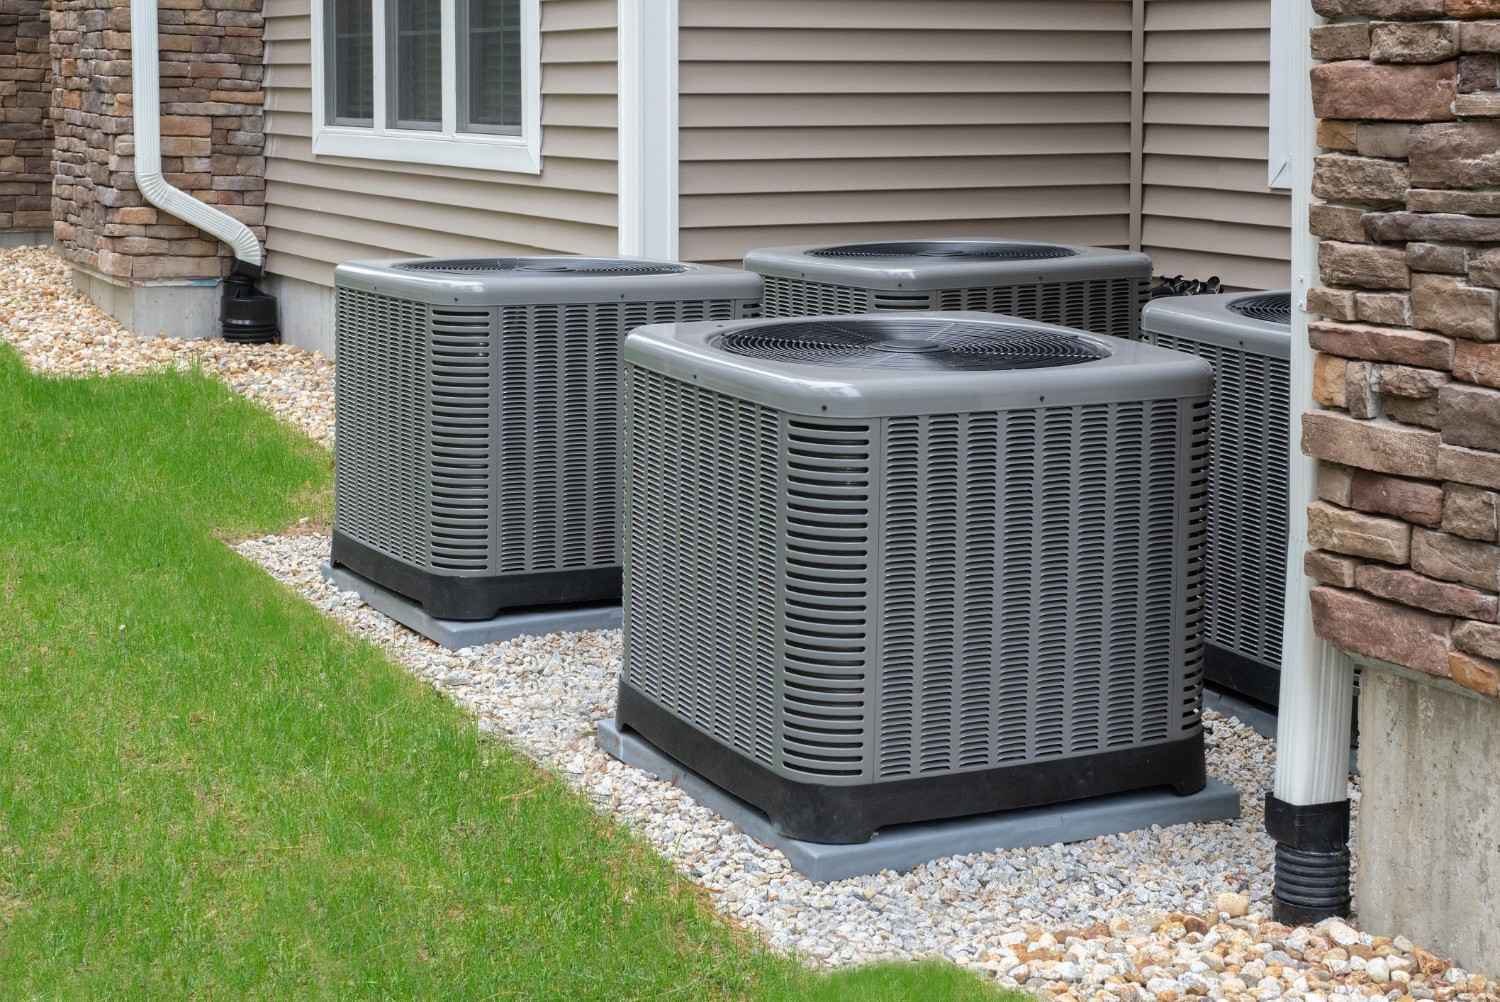
HVAC Maintenance for Climate-Controlled Solariums
If your solarium has a ductless mini-split, consistent filter maintenance is the single most important thing you can do.
Filter cleaning: Every two to four weeks during heavy-use seasons (summer cooling, winter heating). Most mini-splits have washable filters—rinse with water and air-dry completely before reinstalling. A clogged filter forces the compressor to work harder, reduces efficiency, and promotes mold growth on the evaporator coil.
Coil and condensate drain: Clean the indoor unit’s coil every six months. Inspect the condensate drain line on the same schedule—clogged lines cause water overflow that can damage ceilings and walls. Pour a diluted bleach solution through the drain annually to prevent algae buildup.
Professional service: Schedule a professional inspection annually before the primary cooling season. Systems over 10 years old benefit from bi-annual service. If a technician says you need a refrigerant recharge, that always indicates a leak—don’t just top it off without finding and fixing the source.
Seasonal Maintenance Checklist
Spring (most critical season):
- Deep-clean all glass surfaces, frames, tracks, and gutters
- Inspect all seals and weatherstripping for winter damage
- Check roof-to-wall flashing for cracking or separation
- Inspect foundation perimeter for settling signs (gaps, uneven floor, misaligned frames)
- Lubricate all hardware with silicone-based lubricant
- Schedule professional HVAC service before cooling season
- Inspect caulking around all penetrations
Summer:
- Clean mini-split filters every two to four weeks
- Monitor for condensation between glass panes (humidity makes seal failures more visible)
- Verify drainage during storm events
- Spot-clean glass as needed (pollen, insect residue)
Fall (second priority inspection):
- Re-inspect seals and weatherstripping before heating season
- Clean gutters thoroughly after leaf fall
- Check for any IGU seal failures and schedule replacement before winter
- Verify heating system is functional
- Install gutter heat-trace cables if applicable
Winter:
- Keep snow cleared from roof panels with a soft roof rake—never metal tools
- Monitor for drafts indicating seal failure
- Avoid rock salt or calcium chloride de-icers near frames and glass (corrosive to aluminum and seals)
- Monitor for ice dam formation at gutters
Mistakes That Lead to Expensive Repairs
Pressure washing the structure. High-pressure water forces its way behind seals, causing hidden water damage inside frame cavities. Every major solarium manufacturer prohibits this.
Ignoring early fogging between panes. A $150-$400 IGU replacement becomes a $500-$1,200 full window replacement when deferred too long.
Using ammonia cleaners on Low-E glass. Permanent, irreversible coating damage that requires glass replacement.
Deferring gutter cleaning. Pooled water in level solarium gutters overflows into roof-to-wall junctions, causing water damage that can spread to the main house structure.
Neglecting condensation control. A solarium that regularly generates heavy condensation—from plants, cooking connections, or poor ventilation—will develop seal failure, frame corrosion, and flooring damage far faster than one with proper humidity management.
A Little Maintenance Goes a Long Way
A solarium doesn’t need constant attention—it needs consistent attention at the right intervals. Twice-yearly deep inspections in spring and fall, regular filter maintenance on your HVAC system, and prompt attention to any seal or flashing issues will keep your solarium performing at its best for decades.
If you have questions about maintaining your solarium or want to learn how Sunshine Rooms designs structures for easy long-term care, reach out anytime. We’re happy to help.
Related Posts

We Like to Hear From You!
We service and support the products we manufacture and install. If you need assistance with
our products or those of another sunroom manufacturer, contact us!