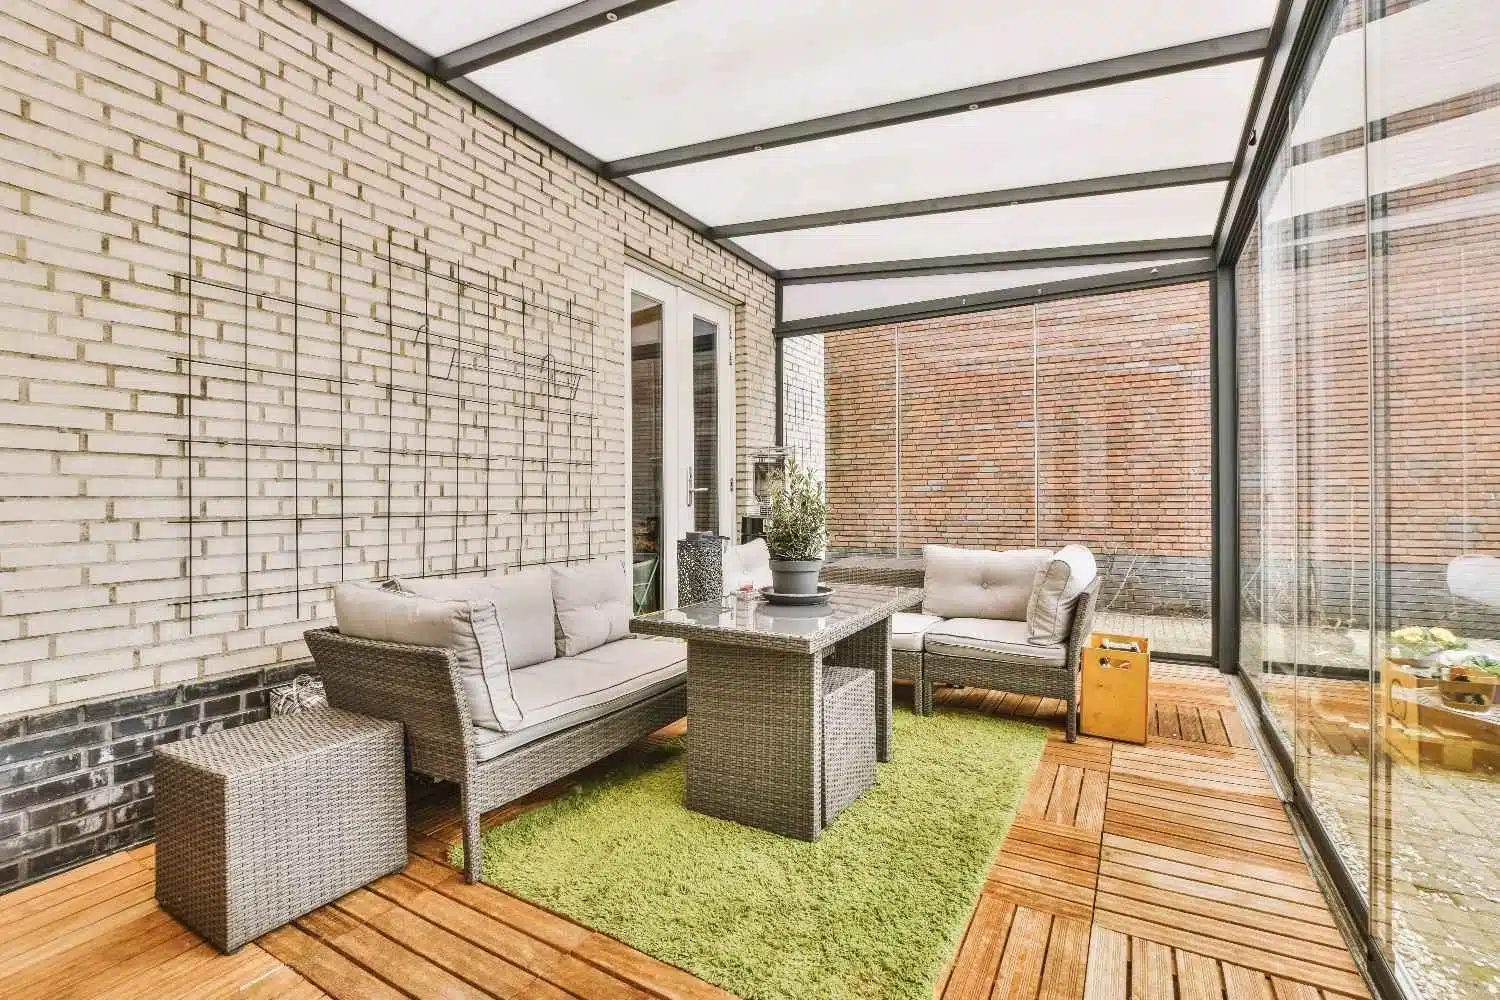
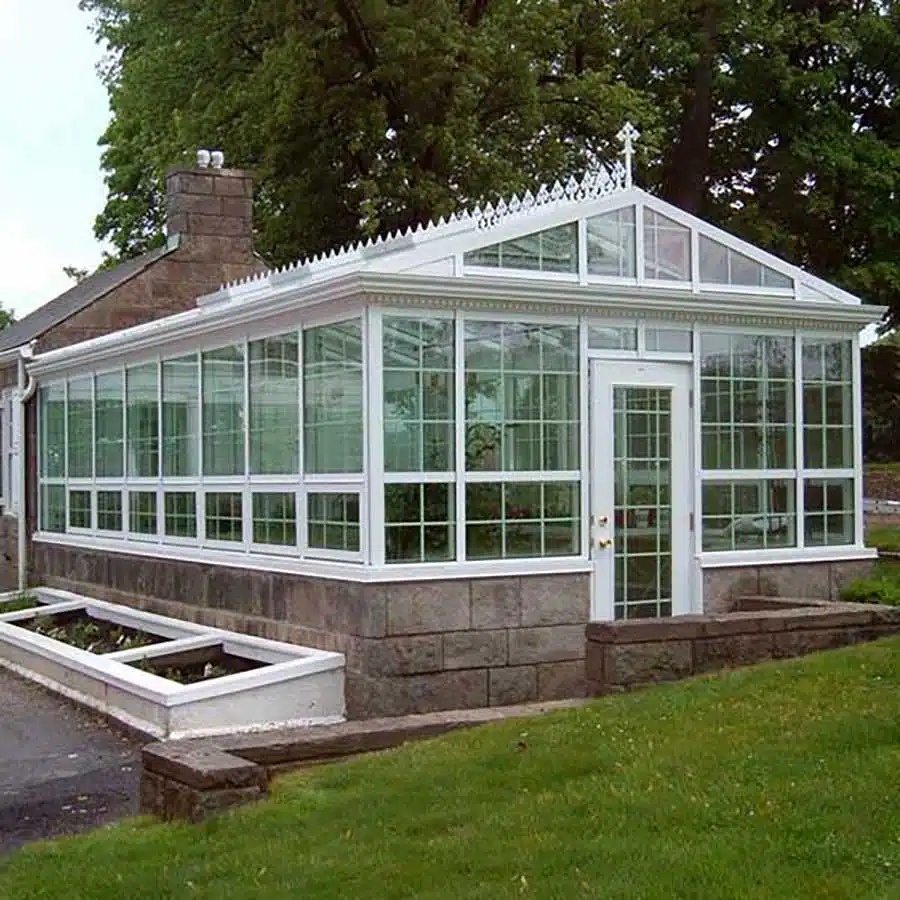
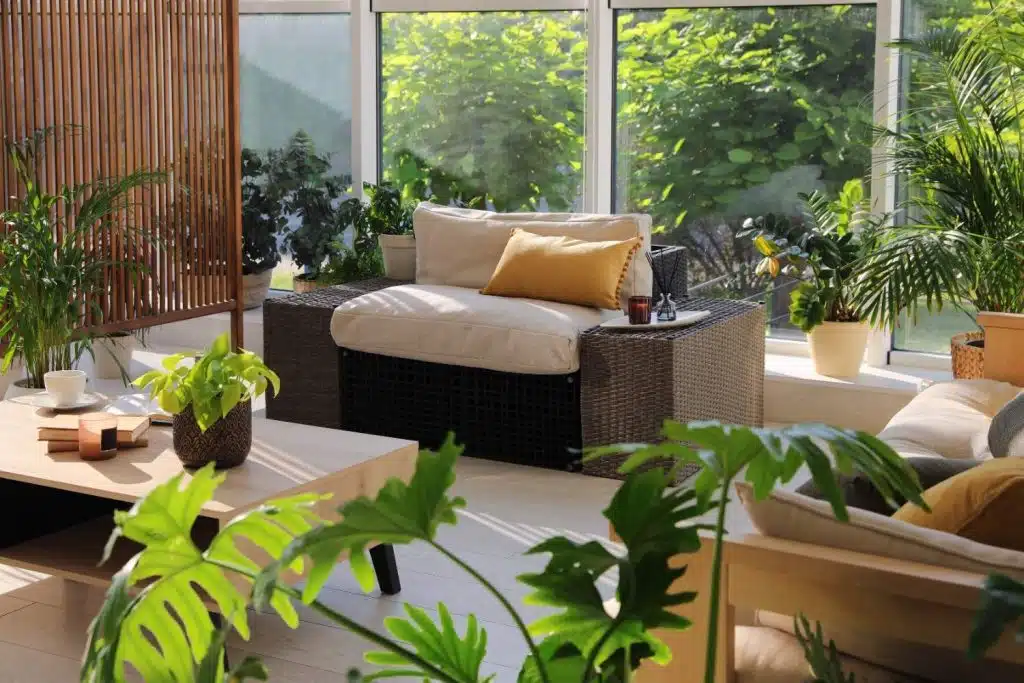
A sunroom that’s glorious in spring and summer but freezing from November through March isn’t living up to its potential. The good news is that most sunrooms can be insulated for comfortable winter use—but the approach is different from insulating a standard room. With so much glass in the structure, traditional wall insulation only addresses a fraction of the problem.
Here’s what actually matters for winter sunroom performance, where heat escapes fastest, and how to address each weak point effectively.
Understanding Where Heat Escapes
Before spending money on insulation, it helps to know where your sunroom loses heat. In a standard room, walls account for the majority of thermal loss. In a sunroom, the equation is different because glass dominates the envelope.
The biggest heat loss sources in a typical sunroom, in order:
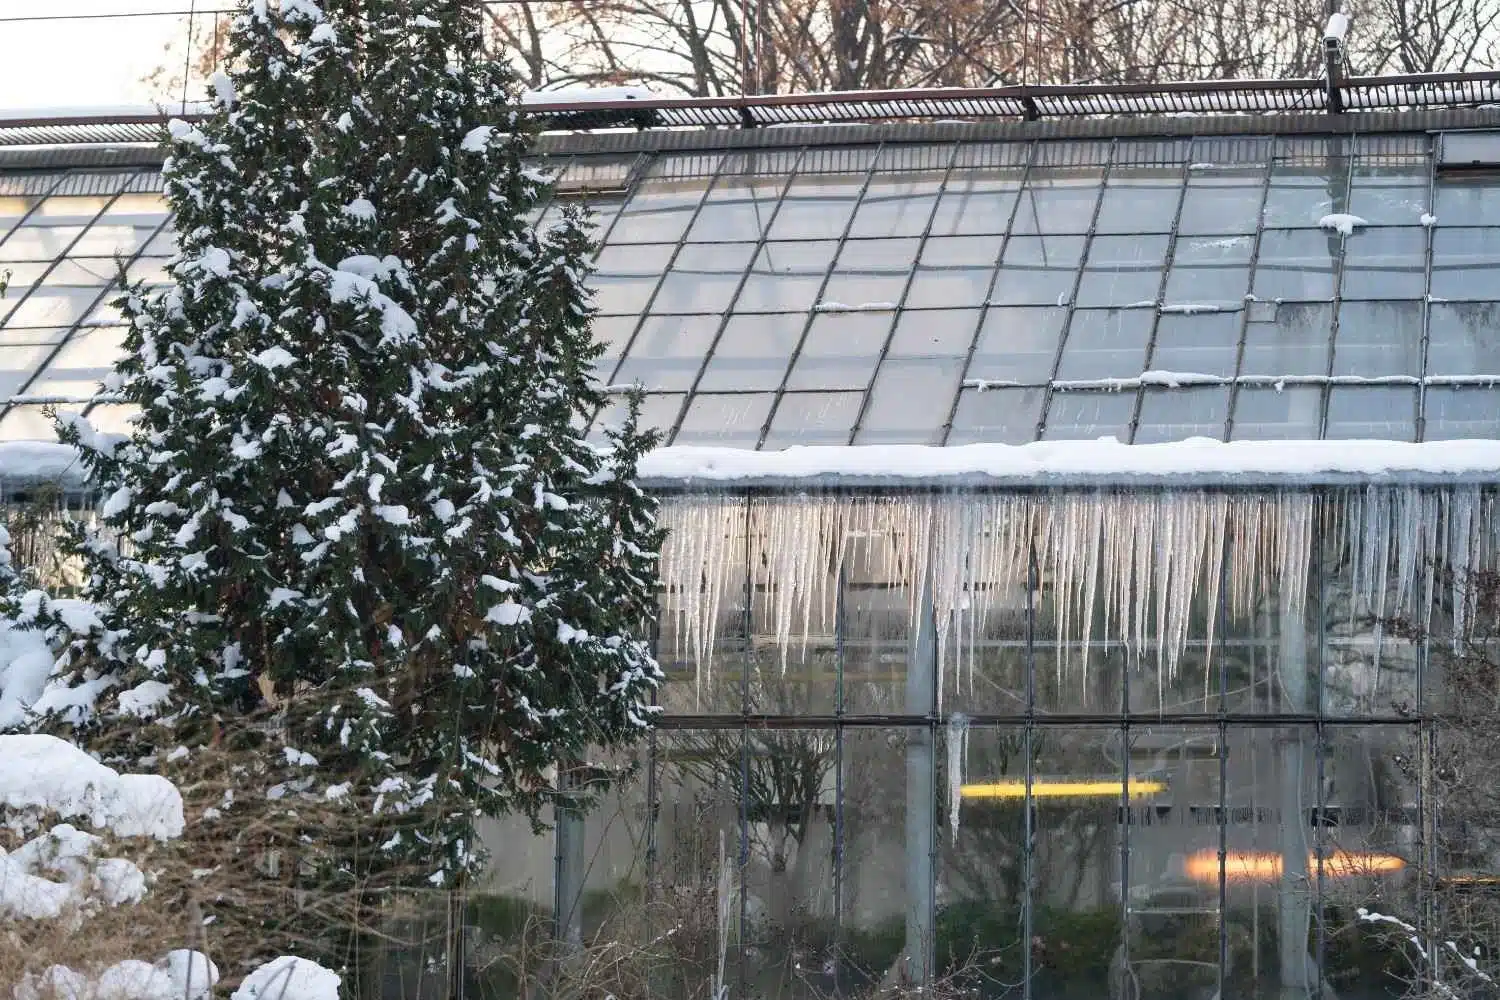
- Glass surfaces — Windows and glass walls account for the largest share of heat loss. Single-pane glass has an R-value of only 0.9-1.0, meaning it offers almost no insulation. Even standard double-pane glass (R-2.0) loses heat far faster than an insulated wall (R-13 to R-21).
- Ceiling/roof — Heat rises, making the ceiling the second-largest escape route. An uninsulated or under-insulated roof bleeds heat rapidly.
- Air leaks — Gaps around windows, doors, frames, and the connection between the sunroom and the house allow warm air to escape and cold air to infiltrate.
- Floor — An uninsulated slab or crawl space beneath the sunroom acts as a heat sink, drawing warmth downward.
Effective winter insulation addresses all four—not just one.
Upgrade the Glass
Since glass makes up most of a sunroom’s exterior surface area, it’s the single most impactful place to improve insulation.
Double-pane insulated glass units (IGUs) should be the minimum standard for any sunroom intended for winter use. Standard double-pane glass delivers an R-value of 2.0-3.0—a significant improvement over single-pane. For the best performance, specify IGUs with argon gas fill between the panes (argon insulates about 34% better than air) and Low-E coatings that reflect infrared heat back into the room while allowing visible light through.
Triple-pane glass pushes R-values to 3.0-5.0 or higher and is the best option for sunrooms in cold climates. The additional pane and gas layer substantially reduce heat transfer. The trade-off is cost—triple-pane typically runs 25-40% more than double-pane—and weight, which may require sturdier framing.
If full glass replacement isn’t in the budget, interior storm window inserts or window insulation film can improve single-pane performance modestly. These aren’t permanent solutions, but they add an insulating air layer at a fraction of the cost of new IGUs. Interior cellular (honeycomb) shades also provide measurable insulation—some high-quality cellular shades add R-3 to R-4 when closed, which makes a noticeable difference on cold nights.

Insulate the Ceiling and Roof
Heat rises, so an under-insulated ceiling is effectively an open door for warmth to escape. The approach depends on your roof type.
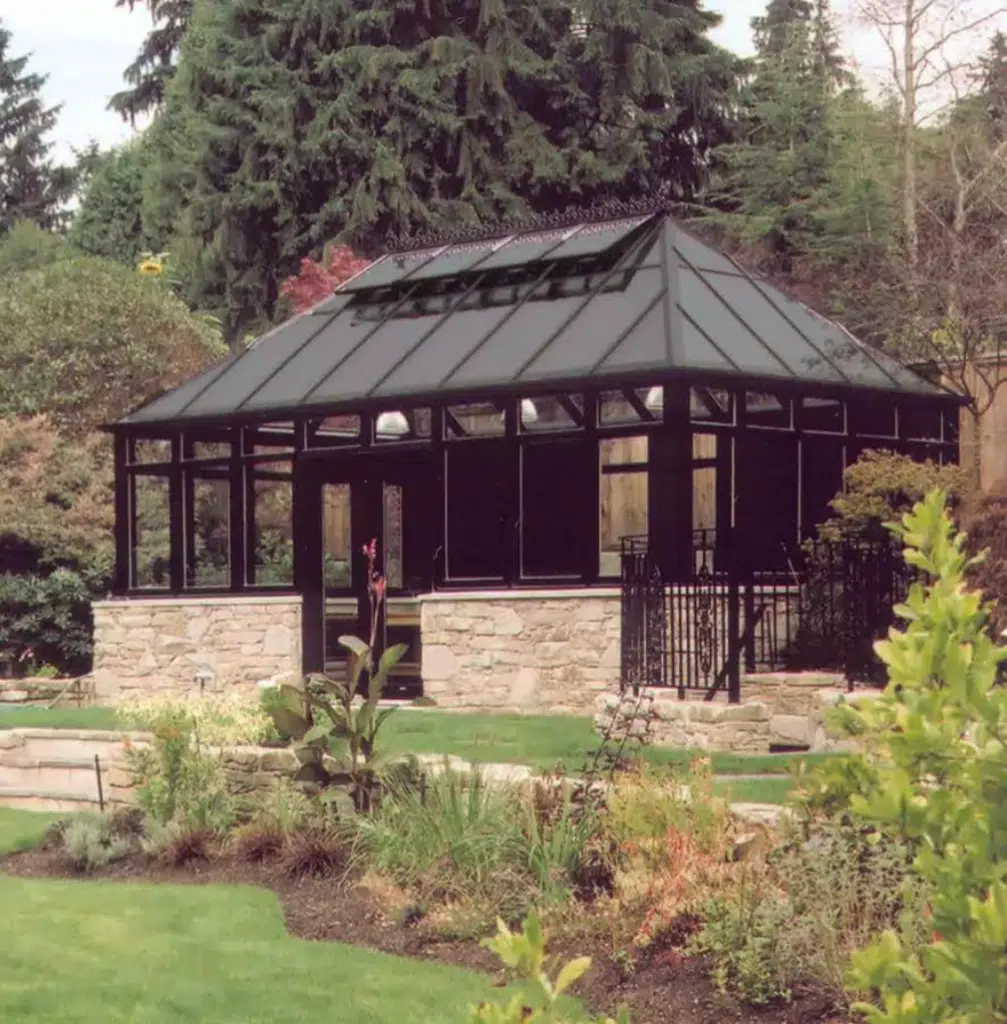
Solid roof panels: If your sunroom has an insulated solid roof (common in four-season designs), verify the R-value of the existing insulation. For winter use in cold climates, aim for R-30 or higher in the ceiling—more than a standard room addition, to compensate for the extensive glazing elsewhere. If the existing insulation falls short, adding rigid foam board or spray foam to the interior side of the roof can bring it up to spec.
Glass or polycarbonate roof panels: These are the hardest to insulate without sacrificing the overhead light that defines the room. Multi-wall polycarbonate provides modest insulation (R-1.5 to R-3.0 depending on wall count) but significantly less than a solid insulated panel. For glass roofs, Low-E coatings and argon fills are the primary tools. If winter warmth is a priority and overhead light isn’t essential, replacing a glass roof with insulated solid panels is the most effective single upgrade—but it fundamentally changes the character of the room.
A practical middle ground: install a retractable insulated shade system beneath the glass roof. Open during the day to capture solar heat, closed at night to reduce heat loss through the overhead glass.
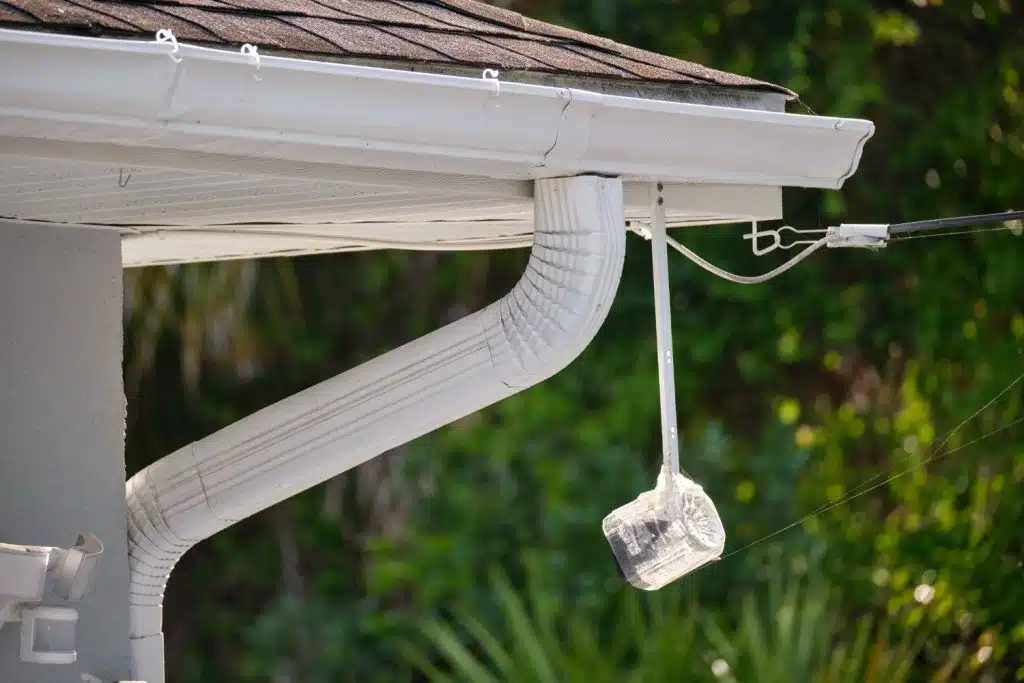
Seal Every Air Leak
Air infiltration can undermine even well-insulated glass and ceilings. Cold drafts through gaps and cracks make a room feel much colder than the thermostat reads.
Where to check:
- Weatherstripping around all operable windows and doors. In sunrooms, weatherstripping degrades faster than in standard rooms due to higher UV exposure and greater temperature swings. Silicone-based or EPDM rubber weatherstripping rated for high UV and temperature cycling lasts 10-15 years versus 5-7 for standard foam. Replace any weatherstripping that’s cracked, flattened, or no longer springs back when compressed.
- Frame-to-glass seals where glass panels meet the aluminum or vinyl frame. Inspect for visible gaps or cracked caulk. Re-seal with silicone caulk rated for exterior use.
- The house-to-sunroom connection. The junction where the sunroom attaches to your home is a common air leak point. Check the ledger board area, the roof-to-wall flashing, and any penetrations for HVAC or electrical. Seal gaps with expanding foam for larger openings or silicone caulk for smaller cracks.
- The base/sill plate. Where the sunroom frame meets the foundation, gaps can develop as materials expand and contract over seasons. Inspect the perimeter and seal as needed.
A simple way to find hidden leaks: on a cold, windy day, hold a lit incense stick near window edges, door frames, and the base of the walls. Where the smoke stream deflects, you have air infiltration.
Insulate the Floor
An uninsulated floor silently drains heat from the room. The approach depends on your foundation type.
Concrete slab: Slab-on-grade foundations are the most common for sunrooms and the hardest to insulate after construction. The most effective retrofit is adding rigid foam insulation board (XPS or EPS, typically 1-2 inches thick) over the existing slab, topped with a new finished floor surface. This raises the floor height slightly but can add R-5 to R-10 to the floor assembly. Radiant floor heating installed over the insulation board is an excellent complement—it warms the floor surface directly, eliminating cold-foot discomfort and reducing the need for overhead heating.
Crawl space: If your sunroom sits over a crawl space, insulate between the floor joists with fiberglass batts (R-19 to R-30) or spray foam. Ensure the crawl space has a vapor barrier on the ground to prevent moisture from rising into the insulation. Encapsulating the crawl space (sealing vents, adding a continuous vapor barrier, and insulating the perimeter walls instead of the floor joists) is even more effective in cold climates.
Pier foundation: Similar to crawl space treatment—insulate between the joists and consider skirting the perimeter with insulated panels to block wind from circulating beneath the floor.
Add the Right Heating System
Insulation slows heat loss, but a sunroom intended for winter use still needs an active heat source. The right system depends on the room’s size, insulation level, and how you use it.
Ductless mini-splits are the most popular choice for sunroom heating. They provide both heating and cooling, operate at high efficiency, and allow independent temperature control without connecting to your home’s central HVAC system. A single-zone mini-split can heat a typical sunroom efficiently down to outdoor temperatures as low as -15°F in modern cold-climate models.
Radiant floor heating pairs exceptionally well with insulated slab floors. The heat rises evenly from the floor surface, eliminating cold spots and providing comfortable warmth at lower thermostat settings than forced-air systems. Electric radiant mats are the simplest retrofit option for existing slabs.
Electric baseboard or wall heaters are the least expensive to install but the most expensive to operate. They’re a reasonable choice for sunrooms used occasionally in winter but not ideal for daily all-season use.
Avoid extending your home’s central HVAC into the sunroom unless the room is fully insulated to the same standard as the rest of the house. Pushing conditioned air into a poorly insulated sunroom forces your furnace or heat pump to work harder, raising energy costs throughout the entire home.
The Insulation Priority Checklist
If you’re working within a budget, prioritize in this order for the biggest impact per dollar:
- Seal air leaks — lowest cost, immediate comfort improvement
- Upgrade weatherstripping — inexpensive, high-impact on drafts
- Insulate the ceiling — stops the biggest thermal escape route after glass
- Upgrade glass (Low-E, argon fill, or triple-pane) — the most impactful single investment
- Insulate the floor — eliminates cold-surface discomfort
- Add a dedicated heating system — provides the active warmth insulation alone can’t deliver
Making Your Sunroom a True Four-Season Space
A winter-ready sunroom isn’t about any single upgrade—it’s about addressing the full thermal envelope: glass, ceiling, floor, and air seals working together. Each improvement compounds the others. Sealing air leaks makes your heating system more effective. Better glass reduces the load on your insulation. An insulated floor keeps radiant heat where you can feel it.
If you’re planning a new sunroom or upgrading an existing one for winter use, the team at Sunshine Rooms can help you evaluate your current insulation situation and recommend the most effective improvements for your climate and budget.
Related Posts
We Like to Hear From You!
We service and support the products we manufacture and install. If you need assistance with
our products or those of another sunroom manufacturer, contact us!